
VcXsrvのインストール
最終更新日 2019年12月24日
| (1) | ブラウザでダウンロードページにアクセスして、「Download」をクリックします。 |  |
| (2) | VcXsrvのインストーラーをPCに保存します。 | 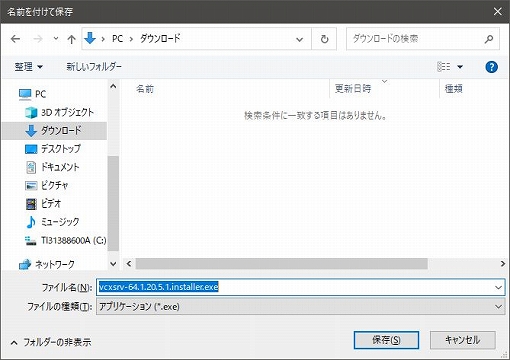 |
| (3) | インストーラーを保存したフォルダを開き、VcXsrvのインストーラーをダブルクリックします。 | 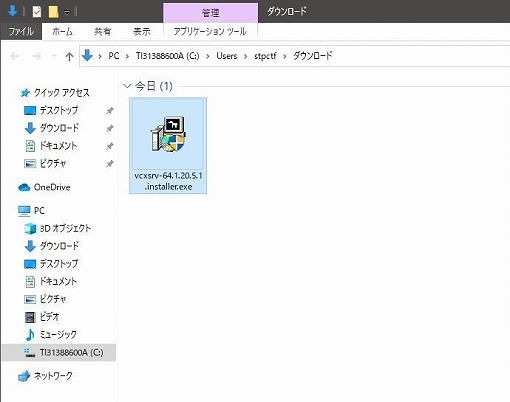 |
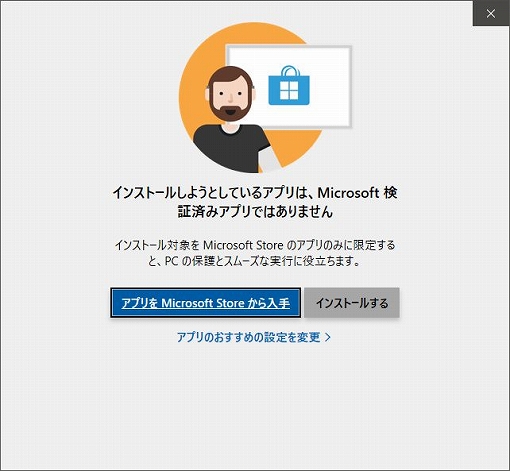
| (4) | この警告が表示されることがあります。 インストーラーをダブルクリックする前に、インストーラーを右クリック>「プロパティ」をクリック>「全般」タブ内の最下部にあるセキュリティの項の「許可する」にチェックを付ける>「適用」ボタンをクリック>「OK」ボタンをクリックした後にインストーラーをダブルクリックすると、この警告は表示されません。 「この不明な発行元からのアプリがデバイスに変更を加えることを許可しますか?」という問い合わせに対しては、「はい」をクリックします。 |
 |
| (5) | ウインドウ右下にある「Next」ボタンをクリックします。 | 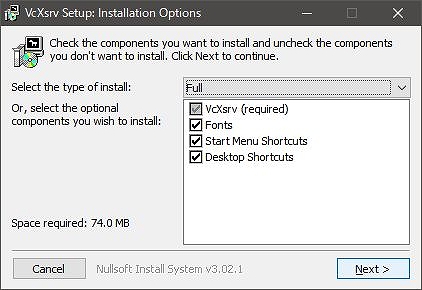 |
| (6) | ウインドウ右下にある「Install」ボタンをクリックします。 | 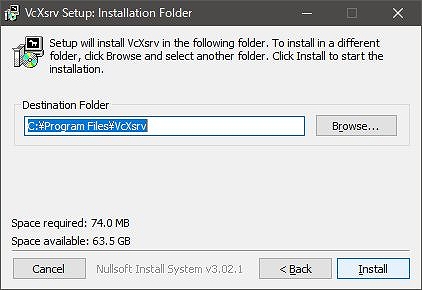 |
| (7) | インストールが始まります。 | 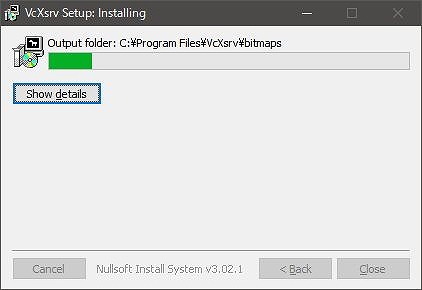 |
| (8) | インストール完了後は、ウインドウ右下にある「Close」ボタンをクリックします。 | 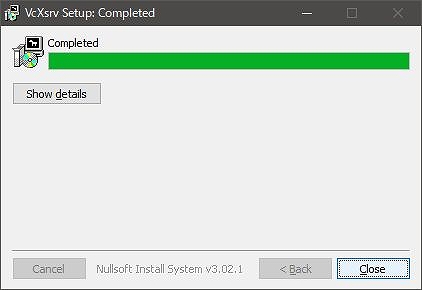 |
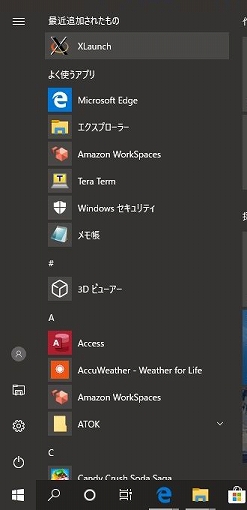
| (9) | では、Xサーバを起動させます。 スタートボタンをクリック、「XLaunch」アイコンを探してクリックします。 |
 |
| (10) | ウインドウ下部にある「次へ」ボタンをクリックします。 | 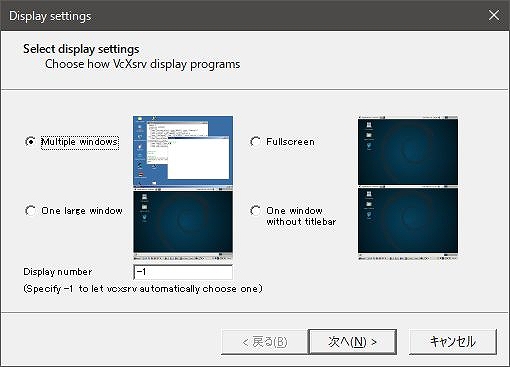 |
| (11) | ウインドウ下部にある「次へ」ボタンをクリックします。 | 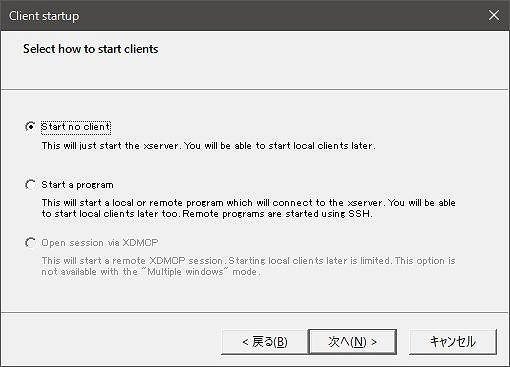 |
| (12) | ウインドウ下部にある「次へ」ボタンをクリックします。 | 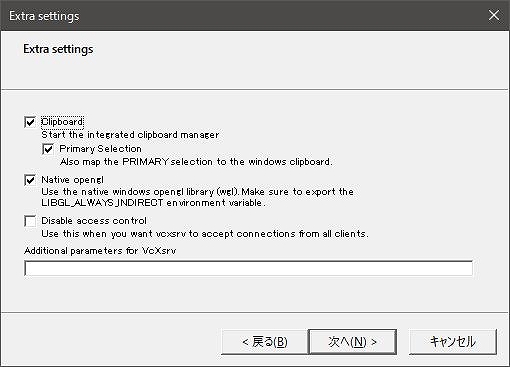 |
| (13) | ウインドウ下部にある「完了」ボタンをクリックします。 |  |
| (14) | タスクバーの通知領域内に「X」アイコンが表示されます。「X」アイコンが見つからない場合は「^」をクリックすると表示されるはずです。 | 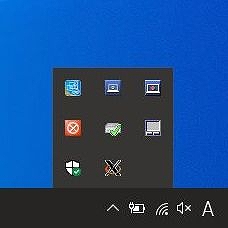 |
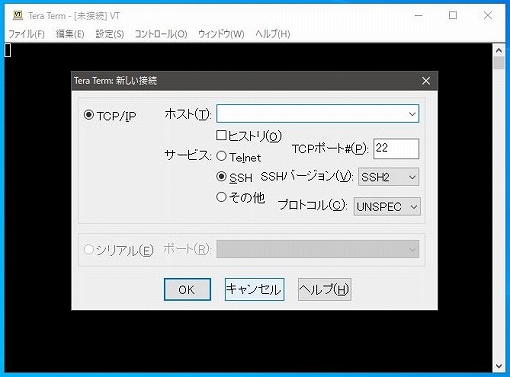
| (15) | Xクライアントを使うための準備をします。 Tera Termを起動し、「キャンセル」ボタンをクリックします。 |
 |
| (16) | 「設定」メニュー内にある「SSH転送」をクリックします。 | 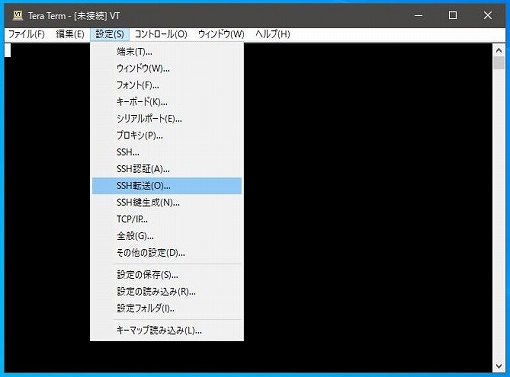 |
| (17) | 「リモートのXアプリケーションをローカルのXサーバに表示する」にチェックを入れて、ウインドウ下部にある「OK」ボタンをクリックします。 | 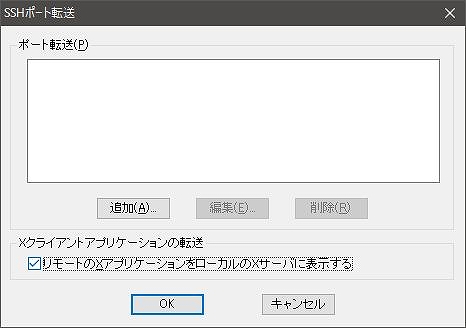 |
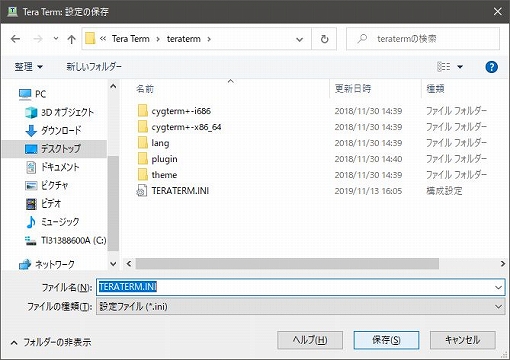
| (18) | 「設定」メニュー内にある「設定の保存」をクリックします。 | 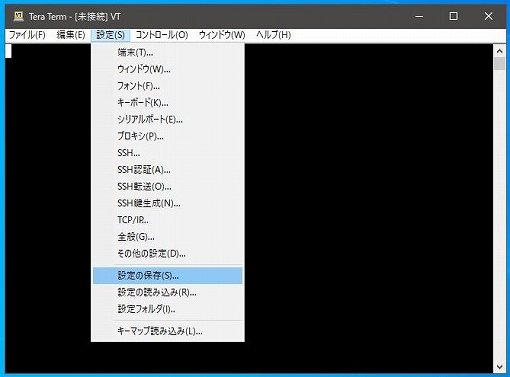 |
| (19) | Tera TermのインストールフォルダにTERATERM.INIというファイルがありますので、これに上書き保存します。 これで準備は完了です。 |
 |
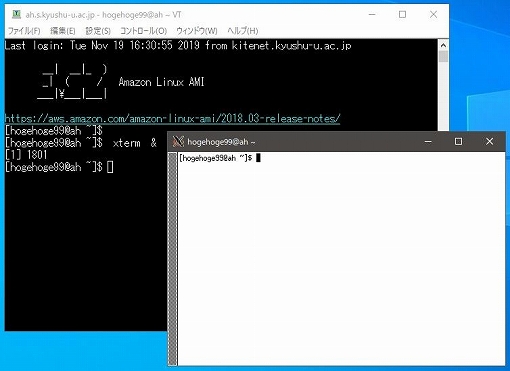
| (20) | では、Xクライアントを使ってみます。 Tera Termでサーバにアクセス、ログインしてXクライアントを起動します。ここでは、xtermを起動させてみました。 |
 |
Installing VcXsrv
Last Updated: December 24, 2019
| (1) | Open your browser and go to the download page, then click “Download”. | |
| (2) | Save the VcXsrv installer to your PC. | |
| (3) | Open the folder where the installer was saved, and double-click the VcXsrv installer. | |
| (4) | You may see a warning like the one shown in the image on the right. To avoid this warning, right-click the installer before double-clicking it, select “Properties”, go to the “General” tab, scroll to the bottom and check the box labeled “Allow” under the “Security” section, click “Apply”, then “OK”, and finally double-click the installer. When prompted with “Do you want to allow this app from an unknown publisher to make changes to your device?”, click “Yes”. |
|
| (5) | Click the “Next” button at the bottom right of the window. | |
| (6) | Click the “Install” button at the bottom right of the window. | |
| (7) | The installation will begin. | |
| (8) | Once installation is complete, click the “Close” button at the bottom right of the window. | |
| (9) | Now, let's launch the X server. Click the Start button and find the “XLaunch” icon, then click it. |
|
| (10) | Click the “Next” button at the bottom of the window. | |
| (11) | Click the “Next” button again. | |
| (12) | Click the “Next” button once more. | |
| (13) | Click the “Finish” button at the bottom of the window. | |
| (14) | You should now see an “X” icon in the notification area of the taskbar. If you don’t see it, click the “^” icon to reveal hidden icons. | |
| (15) | Prepare to use the X client. Launch “Tera Term” and click the “Cancel” button. |
|
| (16) | From the “Setup” menu, select “SSH Forwarding”. | |
| (17) | Check the box labeled “Display remote X applications on local X server”, then click “OK” at the bottom of the window. | |
| (18) | From the “Setup” menu, select “Save Setup”. | |
| (19) | Save the settings by overwriting the “TERATERM.INI” file located in the Tera Term installation folder. Setup is now complete. |
|
| (20) | Let’s try using the X client. Access the server via Tera Term, log in, and launch an X client application. In this example, we launched xterm. |
|